
Christmas Eve is aglow in Highland Park! Bring some extra Christmas cheer to your home with Christmas luminaries. Just follow these instructions to make the classic, white bag luminary. Remember, practice fire safety!
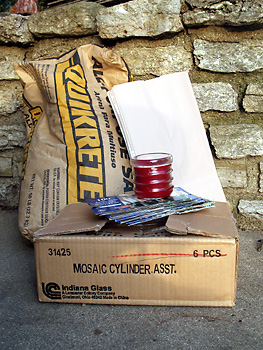
You will need: a 50lb bag of general purpose sand (available from Lowe’s, 1495 Main Street); white, 12LB paper sandwich bags (available from GFS, 6805 Dixie Highway, Fairfield); 4-ounce votive candles (available at discount from Factory Direct, 6252 Glenway Avenue, Cincinnati, Ohio — behind the Home Depot); and cardboard.
First, cut cardboard into rectangles 7 inches wide and 4-and-a-quarter inches tall. Place a cut cardboard in the bottom of each bag. Push firmly so that the board seats. The cardboard will give your luminary stability and help the bag to hold its shape.
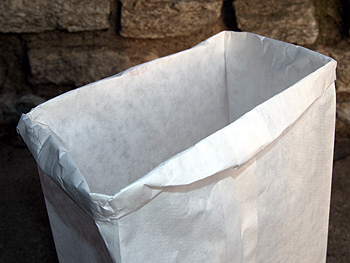
Next, roll or fold the lip of the bag back on itself an inch or two. This holds the bag open and keeps the sides of the bag away from the flame. Don’t worry about tearing the bag when folding.
With the bag on a flat surface, fill the bag with approximately 2 cups of general purpose sand. The sand will be dusty, so try to be neat.
Place the votive in the sand until the votive feels secure. By the way, don’t cheap out and use tea lights or LED tea lights, otherwise your luminaries will be dark and short-lived. You can use bare votives, but votives in glass cups are a nice luxury for extra weight and weather resistance. Newer LED lights/candles powered be AA and AAA batteries are a great alternative; the ones with remote control save you from bending over luminary after luminary to light a candle.
Set the luminaries on the house side of your sidewalk. Space the luminaries as many sidewalk spaces apart as you like, either one luminary per seam or every other seam.
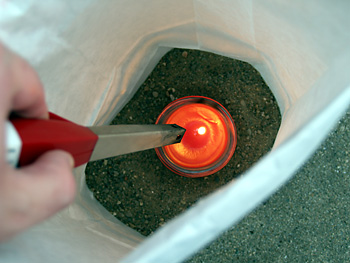
Finally, light the votive with a long match or long butane lighter. Voila! You’ve made enchantment.
Tips and Wisdom
You can make luminaries faster if you set up an assembly line. It’s a great project for kids! The first person opens the bag and inserts the cardboard. The second person (your most dexterous family member) rolls back the bag lip. The third person pours the sand. The last person places the candle and sets the luminary aside. Minding the burning luminaries and keeping the candles lit is a great job for young teenagers.
Make your luminaries ahead of time. Use a wagon to haul your luminaries to the sidewalk. It will save time and your back. Make extra luminaries in case of flame outs or other accidents.
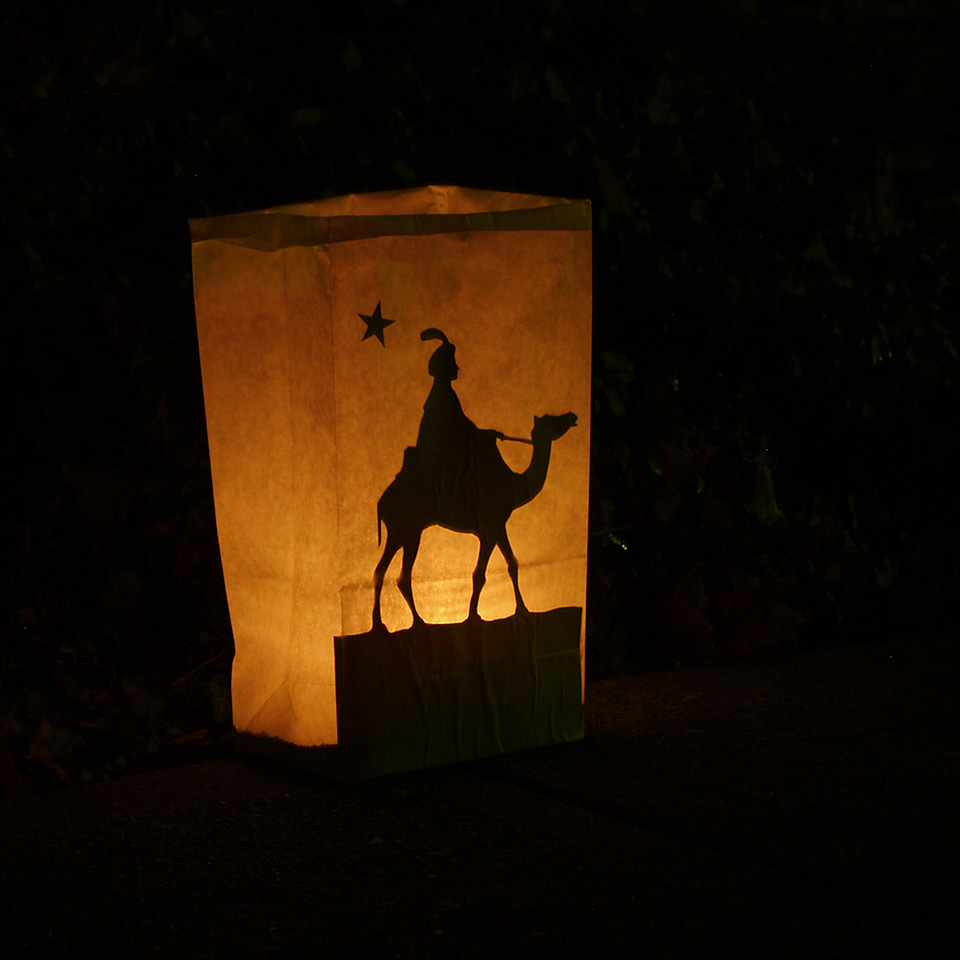
If you like, use brown paper bags instead of white. Add a stenciled design to the bags for a pretty effect. You can even spell out holiday greetings. Milk jugs make good, weather-proof luminaries, too; just plan ahead: toss the caps, rinse and save your jugs. Perforated-cans are another DIY you might try. The idea is to light the night; how you do it is up to you!